Spring MVC – Phần 2: Tạo Ứng dụng Spring MVC Hello sử dụng Annotation config
Xem lại cách tạo Ứng dụng Spring MVC hello sử dụng xml config
Ứng dụng web Hello World sử dụng Spring MVC
Các công nghệ sử dụng trong bài viết này
- Spring 4.3.13.RELEASE
- Maven
- JDK 1.8
- Eclipse 4.6 Neon
- Server tomcat
1. Tạo ứng dụng web bằng Spring MVC + Maven
Đây là bài đầu tiên ví dụ về Spring MVC nên mình sẽ hướng dẫn chi tiết từng bước từ tạo project tới cấu hình.
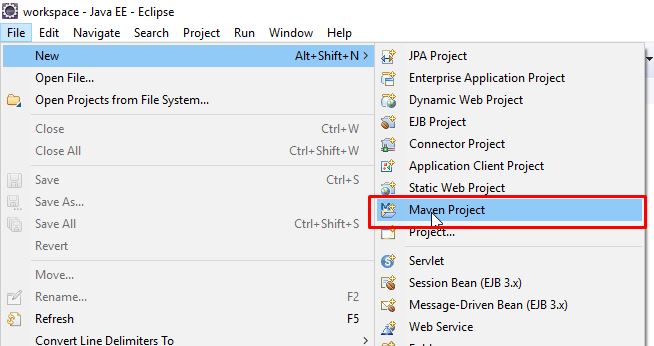
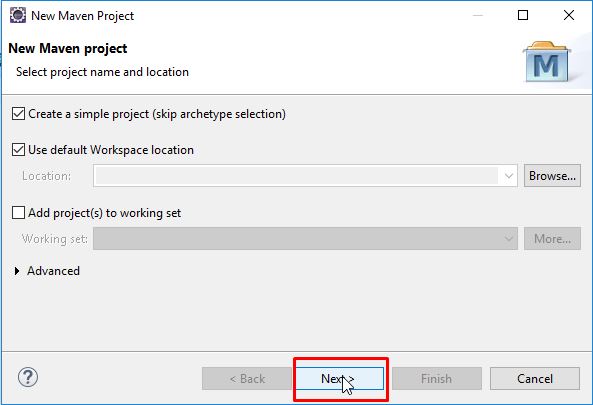
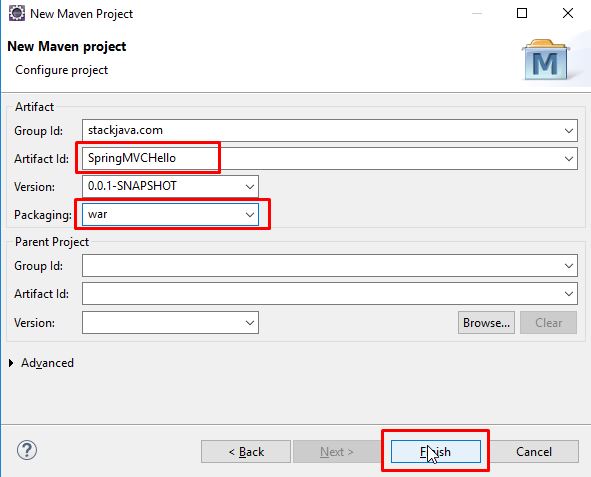
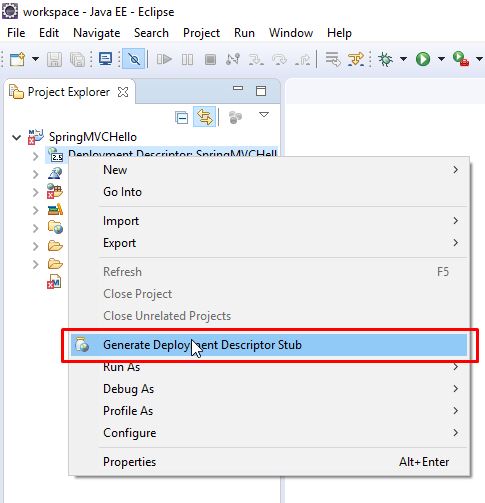
B1. Tạo Maven Project
B2. Thêm các thư viện của Spring vào file pom.xml
<project xmlns="http://maven.apache.org/POM/4.0.0" xmlns:xsi="http://www.w3.org/2001/XMLSchema-instance"
  xsi:schemaLocation="http://maven.apache.org/POM/4.0.0 http://maven.apache.org/xsd/maven-4.0.0.xsd">
  <modelVersion>4.0.0</modelVersion>
  <groupId>stackjava.com</groupId>
  <artifactId>SpringMVCHello</artifactId>
  <version>0.0.1-SNAPSHOT</version>
  <packaging>war</packaging>

  <properties>
    <spring.version>4.3.13.RELEASE</spring.version>
  </properties>
  <dependencies>
    <dependency>
      <groupId>org.springframework</groupId>
      <artifactId>spring-beans</artifactId>
      <version>${spring.version}</version>
    </dependency>

    <dependency>
      <groupId>org.springframework</groupId>
      <artifactId>spring-context</artifactId>
      <version>${spring.version}</version>
    </dependency>

    <dependency>
      <groupId>org.springframework</groupId>
      <artifactId>spring-webmvc</artifactId>
      <version>${spring.version}</version>
    </dependency>


    <!-- https://mvnrepository.com/artifact/javax.servlet/jsp-api -->
    <dependency>
      <groupId>javax.servlet</groupId>
      <artifactId>jsp-api</artifactId>
      <version>2.0</version>
      <scope>provided</scope>
    </dependency>

  </dependencies>
</project>
B3+4. Tạo class Config Spring MVC
Class config này sẽ sử dụng thay cho file xml config.
package stackjava.com.springmvchello.webconfig;

import org.springframework.context.annotation.Bean;
import org.springframework.context.annotation.ComponentScan;
import org.springframework.context.annotation.Configuration;
import org.springframework.web.servlet.config.annotation.EnableWebMvc;
import org.springframework.web.servlet.config.annotation.WebMvcConfigurerAdapter;
import org.springframework.web.servlet.view.InternalResourceViewResolver;

@EnableWebMvc // mvc:annotation-driven
@Configuration
@ComponentScan({ "stackjava.com.springmvchello" })
public class SpringWebConfig extends WebMvcConfigurerAdapter {

  @Bean
  public InternalResourceViewResolver viewResolver() {
    InternalResourceViewResolver viewResolver = new InternalResourceViewResolver();
    viewResolver.setPrefix("/WEB-INF/views/jsp/");
    viewResolver.setSuffix(".jsp");
    return viewResolver;
  }

}
Tạo một class ServletInitializer bằng cách extending AbstractAnnotationConfigDispatcherServletInitializer, Class này có chức năng load các file cấu hình và chạy nó. Nó tương tự với việc khai báo file xml config trong web.xml
package stackjava.com.springmvchello.webconfig;

import org.springframework.web.servlet.support.AbstractAnnotationConfigDispatcherServletInitializer;

public class MyWebInitializer extends AbstractAnnotationConfigDispatcherServletInitializer {

  @Override
  protected Class<?>[] getServletConfigClasses() {
    return new Class[] { SpringWebConfig.class };
  }

  @Override
  protected String[] getServletMappings() {
    return new String[] { "/" };
  }

  @Override
  protected Class<?>[] getRootConfigClasses() {
    return null;
  }

}
B5. Tạo controller xử lý request.
package stackjava.com.springmvchello.controller;

import org.springframework.stereotype.Controller;
import org.springframework.web.bind.annotation.RequestMapping;
import org.springframework.web.bind.annotation.RequestMethod;

@Controller
public class HelloController {

  @RequestMapping("/")
  public String index() {
    return "index";
  }

  @RequestMapping(value = "/hello", method = RequestMethod.GET)
  public String hello() {
    return "hello";
  }

}
Class HelloController được đánh dấu là @Controller và nằm trong package được scan nên dispatcherServlet khi nhận request sẽ kiểm tra những request sẽ được xử lý bảo HelloController
method index()
- Giá trị maping là “/” tức là khi gửi một request tới url “/” nó sẽ được xử lý bởi method index()
- return “index”: nó sẽ kiểm tra xem các file view map trong spring là gì và trả về, trong ví dụ này nó sẽ trả về file index.jsp trong folder WEB-INF/views/jsp
- Trong @RequestMapping không chỉ rõ request method là Get, Post, Put… nên nó sẽ chấp nhận tất cả các request method tới.
method hello()
- Giá trị maping là “/” tức là khi gửi một request tới url “/” nó sẽ được xử lý bởi method index()
- return “hello”: nó sẽ kiểm tra xem các file view map trong spring là gì và trả về, trong ví dụ này nó sẽ trả về file hello.jsp trong folder WEB-INF/views/jsp
- Trong @RequestMapping chỉ rõ method = Get nên chỉ có request = Get mới được xử lý bởi method này
B6. Tạo file view
index.jsp
<%@ page language="java" contentType="text/html; charset=UTF-8"
  pageEncoding="UTF-8"%>
<!DOCTYPE html PUBLIC "-//W3C//DTD HTML 4.01 Transitional//EN" "http://www.w3.org/TR/html4/loose.dtd">
<html>
<head>
<meta http-equiv="Content-Type" content="text/html; charset=UTF-8">
<title>index</title>
</head>
<body>
  <h1>Spring MVC Hello World!</h1>
  <a href="hello">hello</a>
</body>
</html>
hello.jsp
<%@ page language="java" contentType="text/html; charset=UTF-8"
  pageEncoding="UTF-8"%>
<!DOCTYPE html PUBLIC "-//W3C//DTD HTML 4.01 Transitional//EN" "http://www.w3.org/TR/html4/loose.dtd">
<html>
<head>
<meta http-equiv="Content-Type" content="text/html; charset=UTF-8">
<title>index</title>
</head>
<body>
  <h1>Spring MVC Hello World!</h1>
  <a href="hello">hello</a>
</body>
</html>
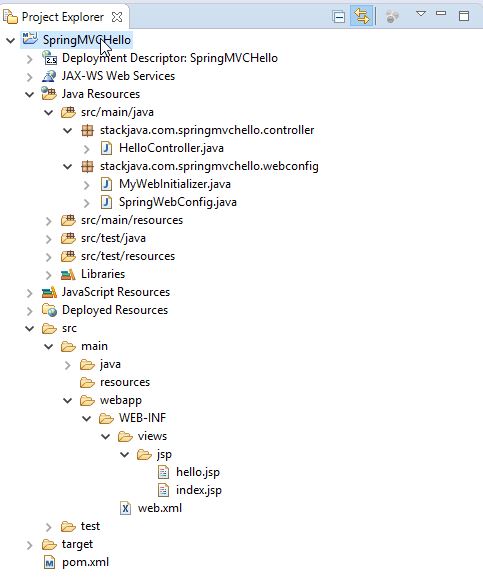
Cấu trúc project sau khi hoàn thành các bước tạo:
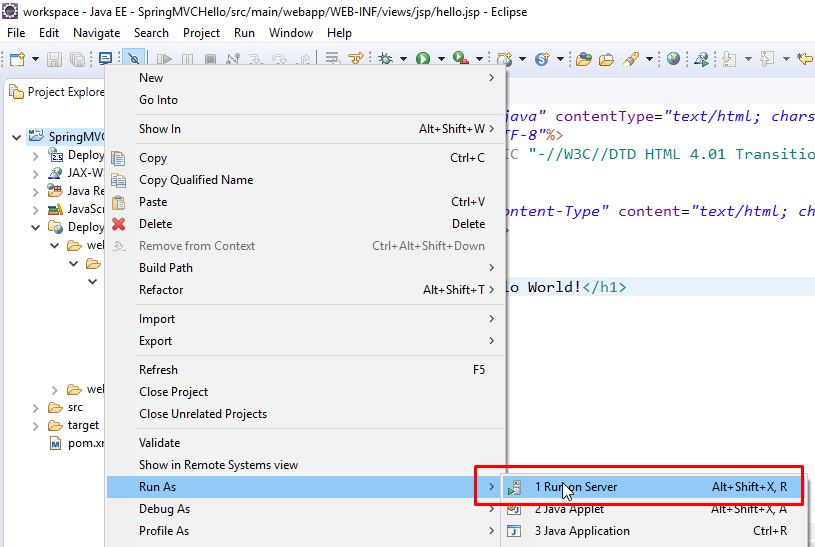
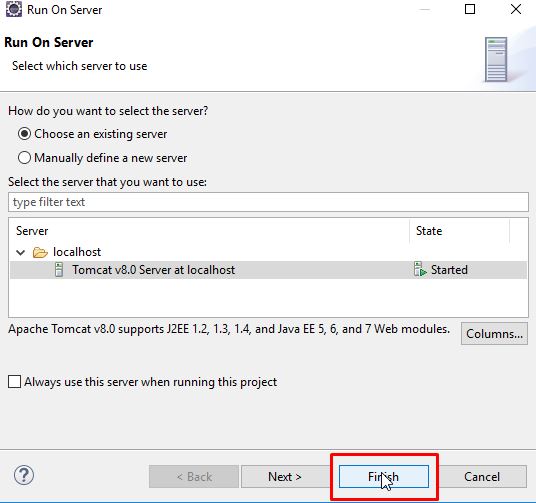
B7. Chạy ứng dụng web trên tomcat
Kết quả:
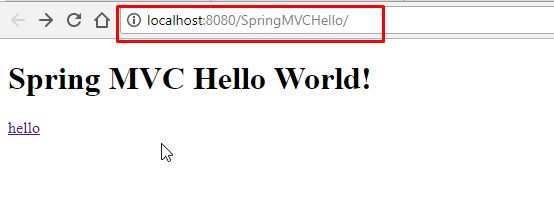
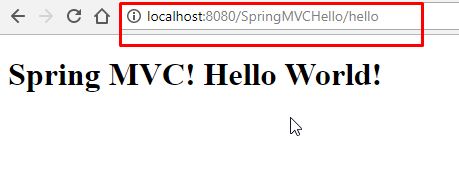
Okay, Done!
Download code ví dụ trên tại đây
References: http://www.mkyong.com/spring3/spring-3-mvc-hello-world-example-annotation/
