Code ví dụ Spring Boot Hello, Cấu hình Spring Boot
(Xem lại: Giới thiệu Spring Boot Framework)
Công nghệ sử dụng:
- Spring Boot 2.0.0.M7
- Maven
- JDK 1.8
- Eclipse + Spring Tool Suite
- Thymeleaf
Tạo Project
(Cần cài đặt Spring Tool Suite trước)
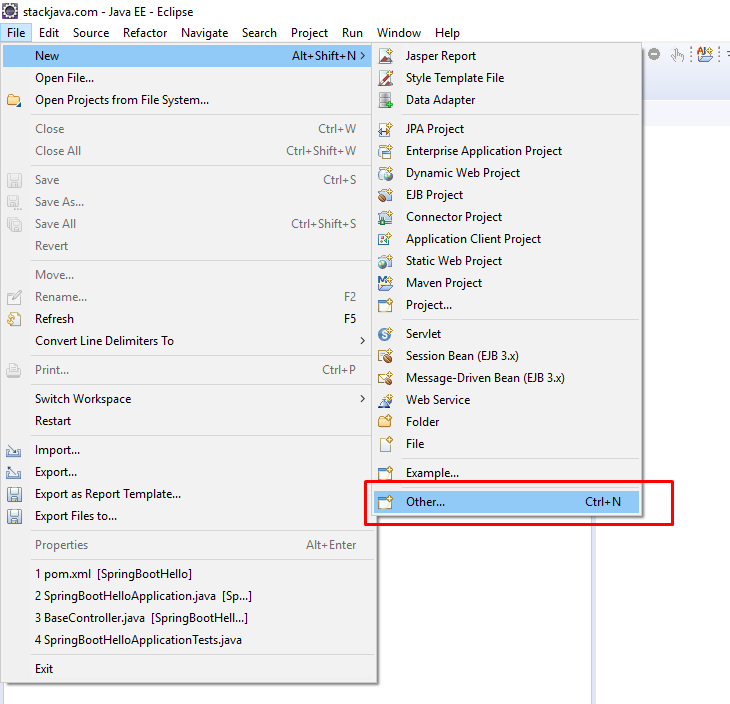
Chọn File/New/Other
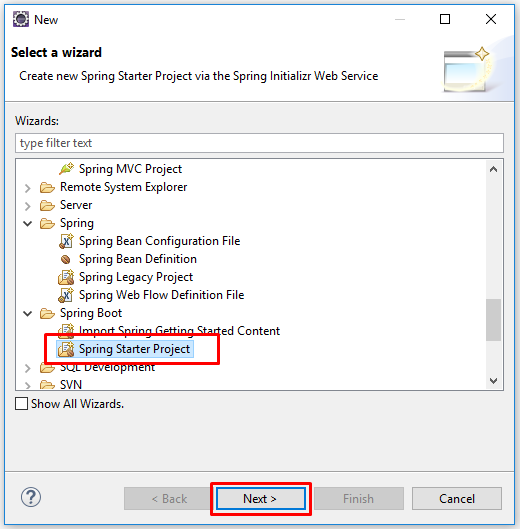
Chọn Spring Boot / Spring Starter Project (Mục này chỉ hiện nếu bạn đã cài Spring Tool Suite)
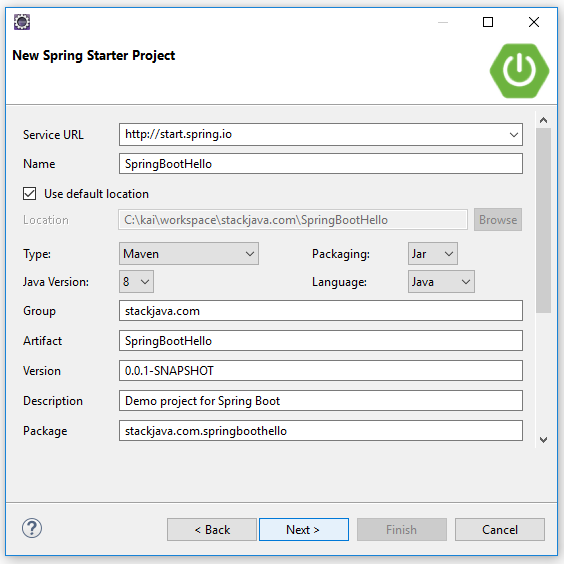
Chọn Java version, type (Maven, Gradle), Application Name…
Chọn Spring Boot Version. Spring Boot có thể tích hợp sẵn với khá nhiều chức năng khác như Azure, Cloud, Security…
Ở đây mình làm ứng dụng web hello world đơn giản nên chỉ chọn ô Web.
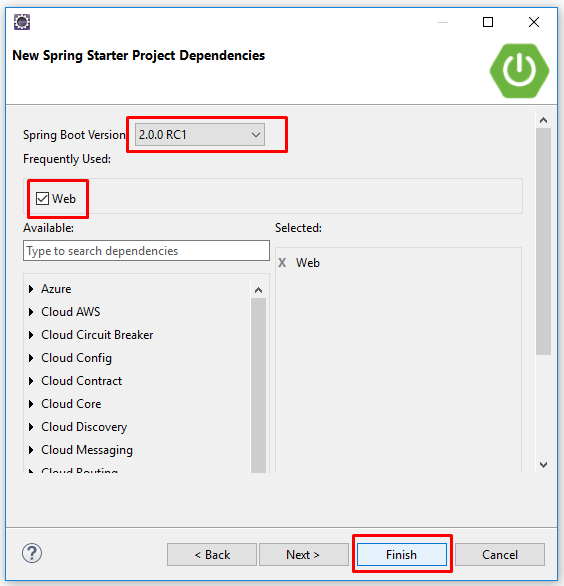
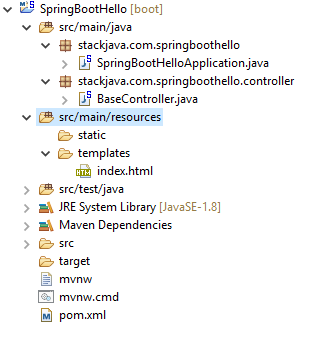
Kết quả:
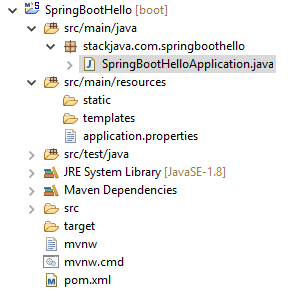
File SpringBootHelloApplication.java được tự động tạo.
package stackjava.com.springboothello;

import org.springframework.boot.SpringApplication;
import org.springframework.boot.autoconfigure.SpringBootApplication;

@SpringBootApplication
public class SpringBootHelloApplication {

  public static void main(String[] args) {
    SpringApplication.run(SpringBootHelloApplication.class, args);
  }
}
Spring Boot cung cấp SpringApplication class để khởi động cho ứng dụng Spring từ hàm main() sử dụng static method SpringApplicaiton.run:
@SpringBootApplication là một annotation tiện ích, nó tương đương với việc ta thêm các annotation sau:
@Configurationgán class này thành một bean của application context.@EnableAutoConfiguration@EnableWebMvc.@ComponentScan.
Kể từ khi spring-boot-starter-web thêm Tomcat và Spring MVC, auto-configuration sẽ giả sử rằng bạn phát triển một ứng dụng web và sẽ setup Spring phù hợp.
- Annotation @Controller và @RequestMapping annotations (Xem lại @Controller, @RequestMapping trong Spring MVC)
<html>
<head>
<title>Spring Boot</title>
</head>
<body>
  <h1>Hello Spring Boot</h1>
</body>
</html>
Thêm thư viện sau vào file pom.xml để render view của web application. (hoặc chọn thymeleaf lúc tạo ứng dụng Spring Boot)
<dependency>
  <groupId>org.springframework.boot</groupId>
  <artifactId>spring-boot-starter-thymeleaf</artifactId>
</dependency>
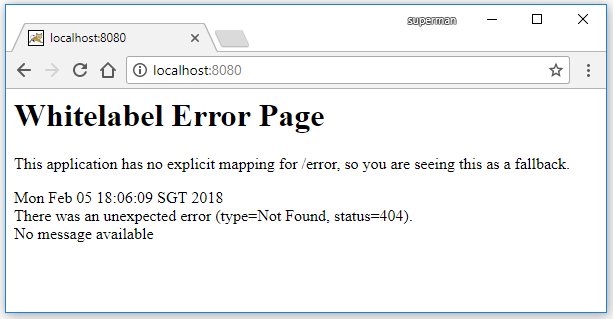
Nếu ko có thư viện trên bạn sẽ gặp lỗi khi render view như dưới đây.
Chạy ứng dụng:
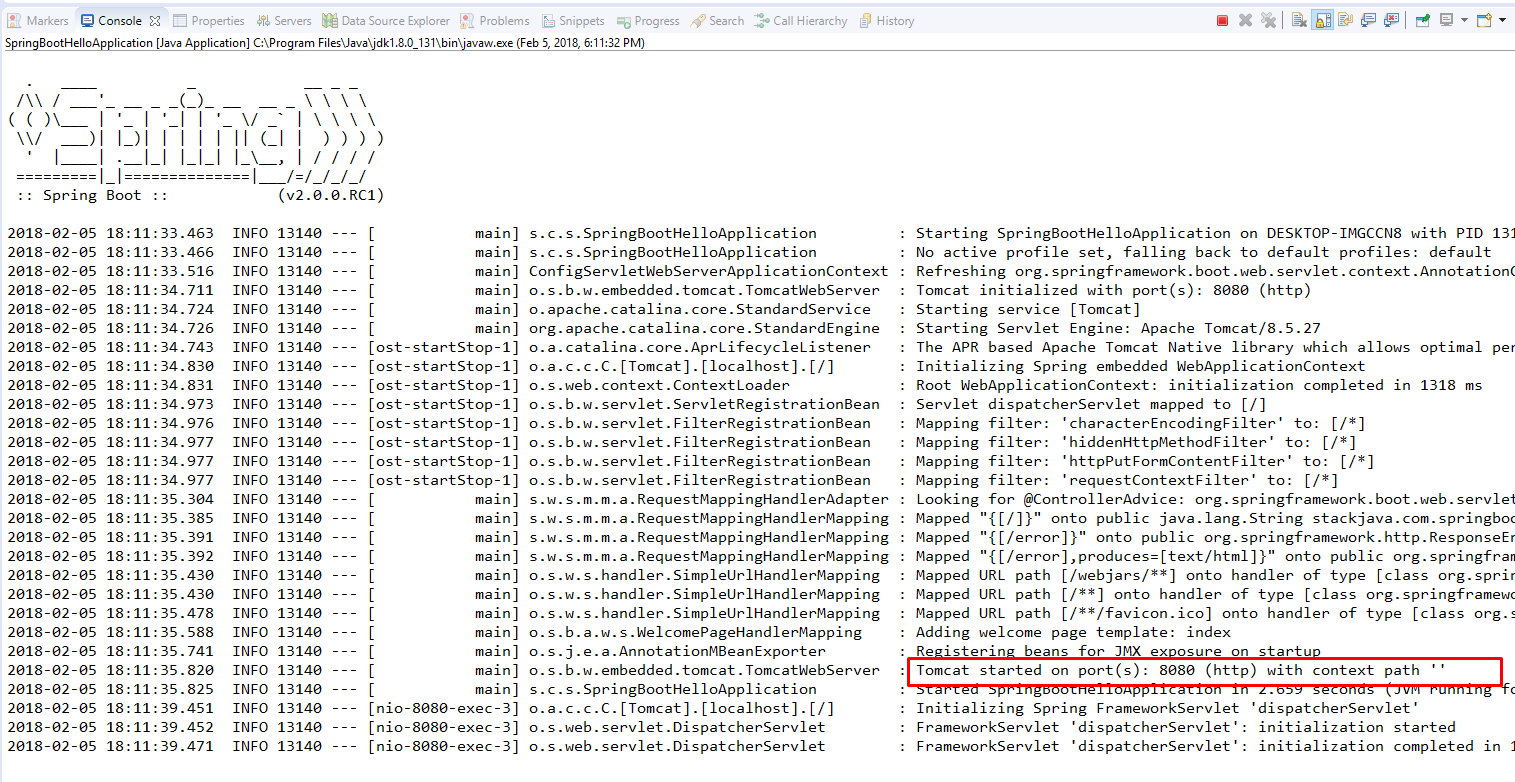
Kết quả:
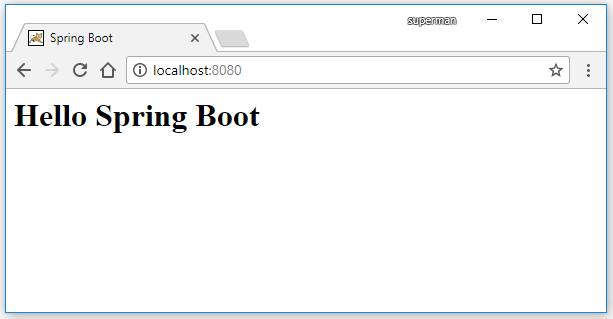
Okay, Done!
Để thay đổi thông tin config như server-port, servlet-path.. chúng ta thay đổi trong file application.properties.
(Xem Giải thích Spring Boot Starters – Cơ chế của Spring Boot để hiểu cách Spring Boot nhúng Servlet Container và auto config)
Download code ví dụ trên tại đây.
Code ví dụ Spring Boot Hello, Cấu hình Spring Boot
References:
